
7 Survival Tips for Home Improvement Centers
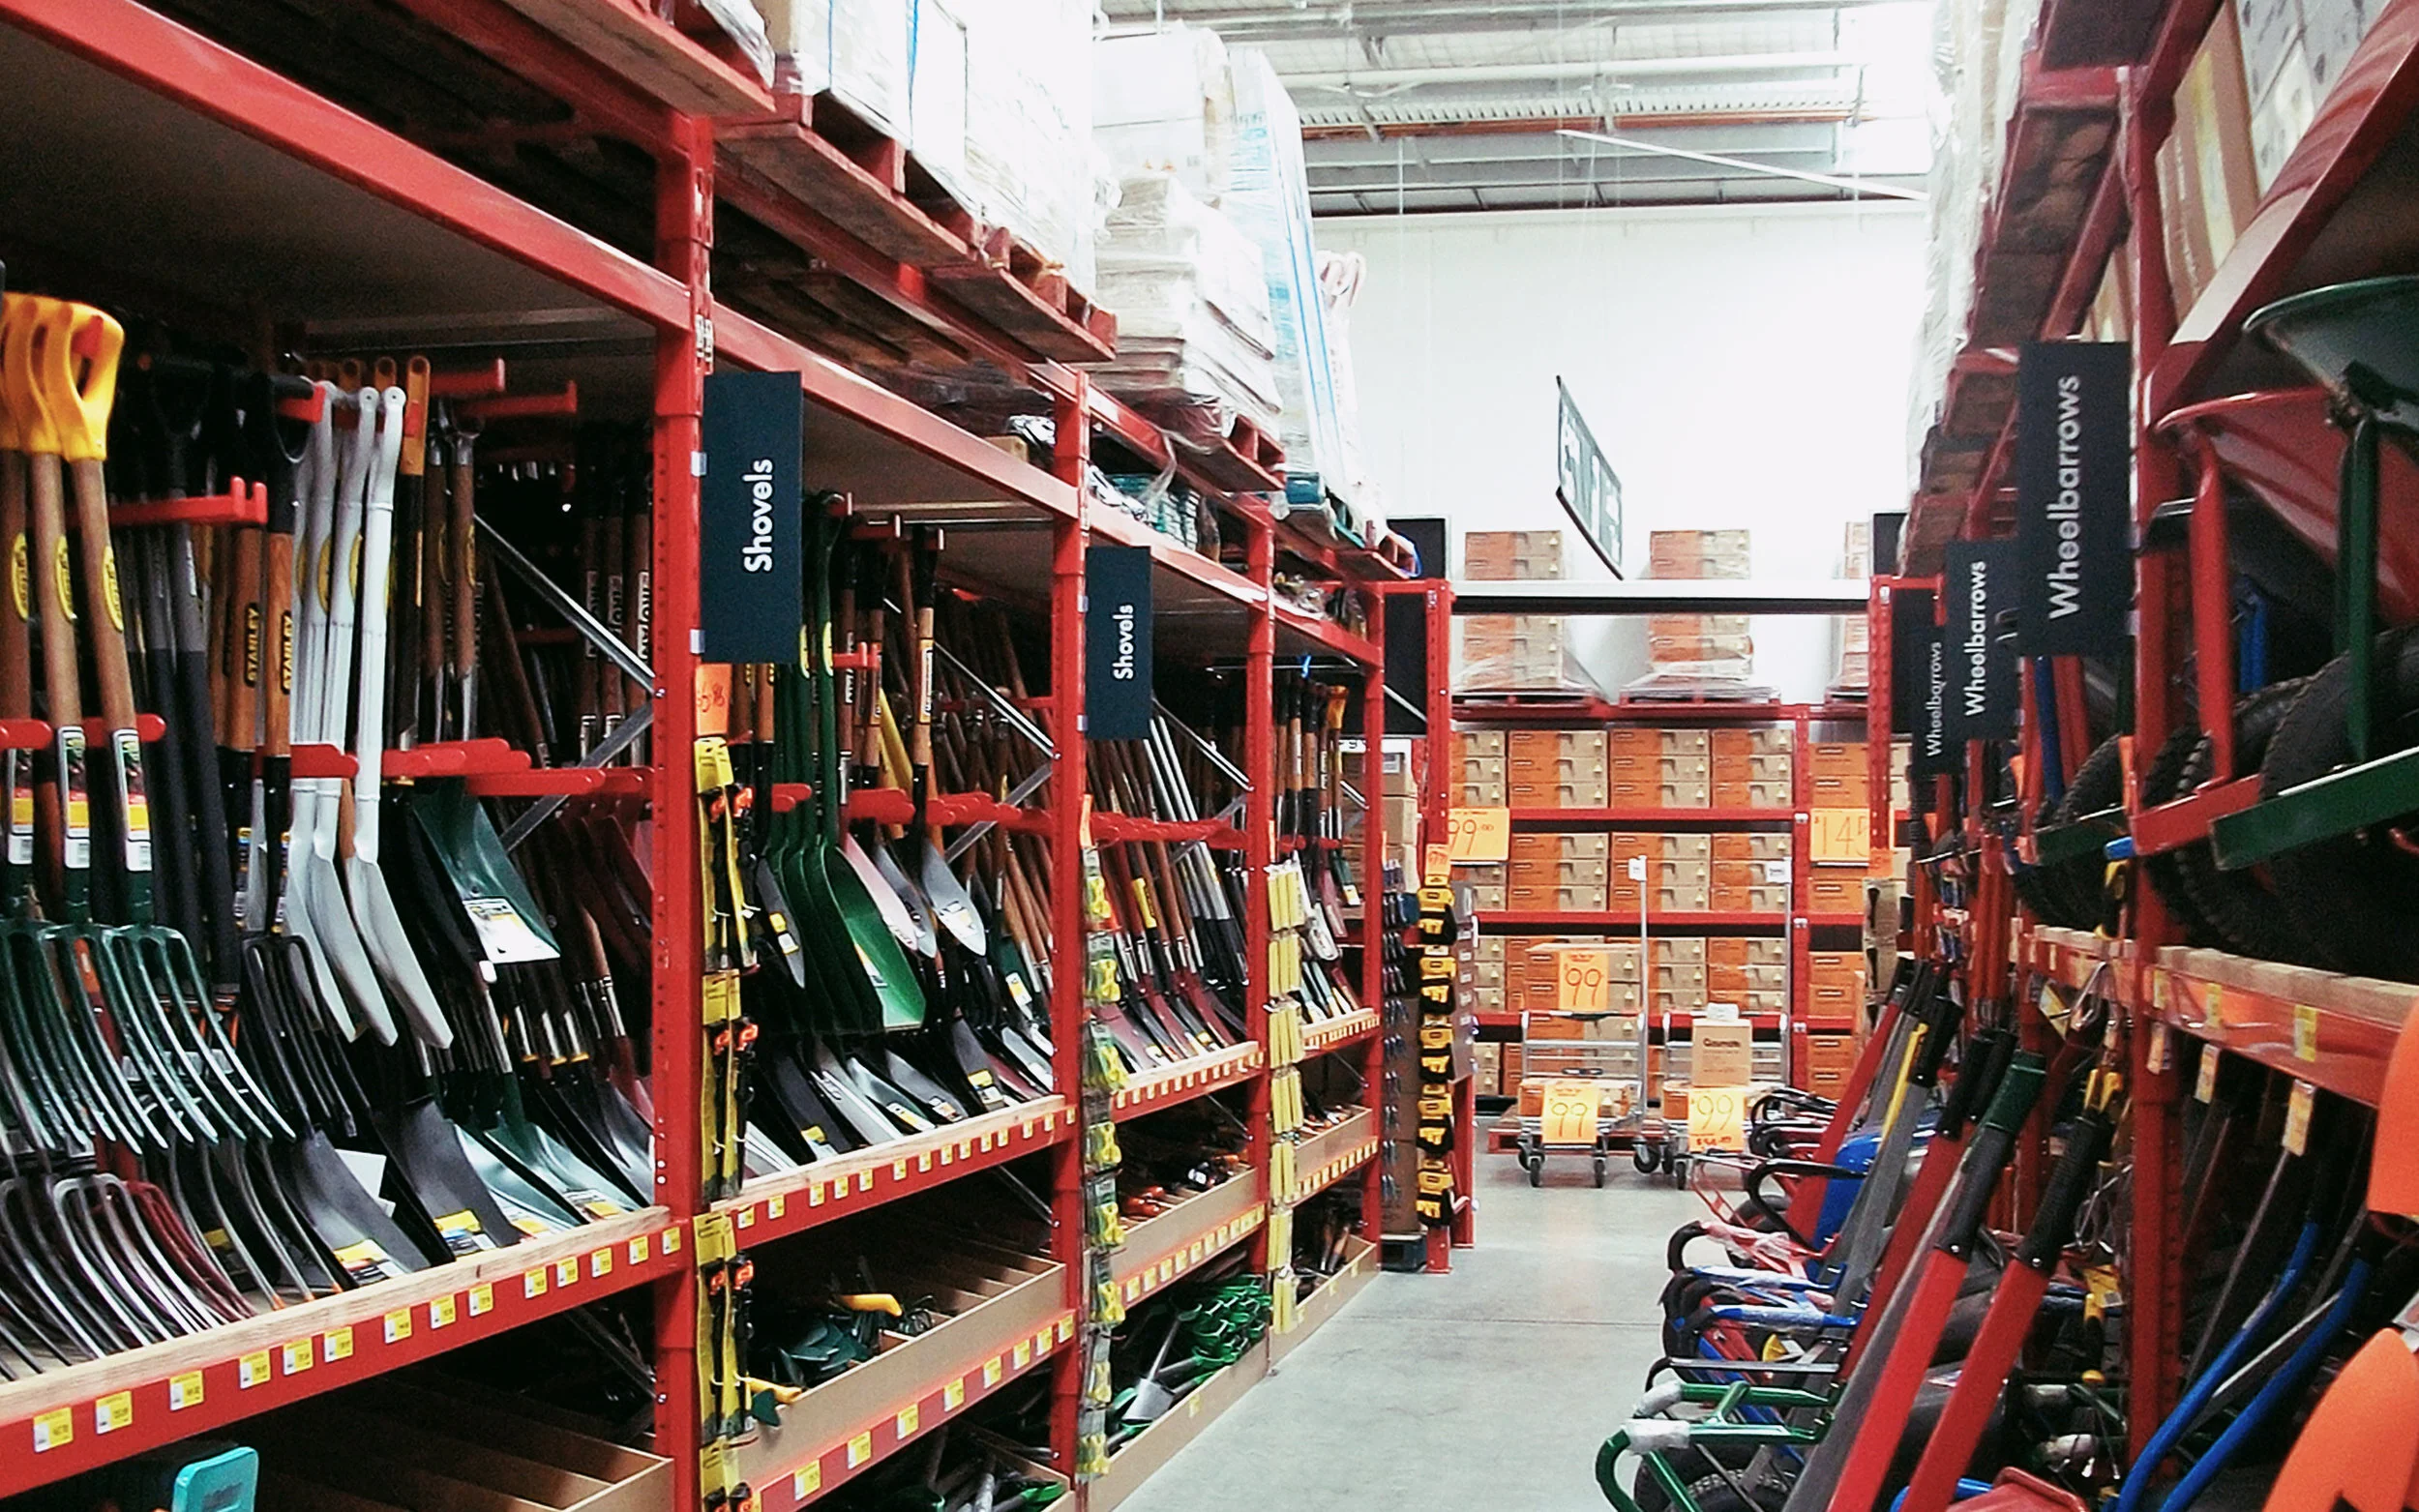
It’s a sunny Saturday afternoon and you’re lost inside the aisles of your local home improvement center, slowly losing steam on the great project you have in mind for your yard. Should the patio be stone or brick? How will I keep these plants alive? How much soil do I need?
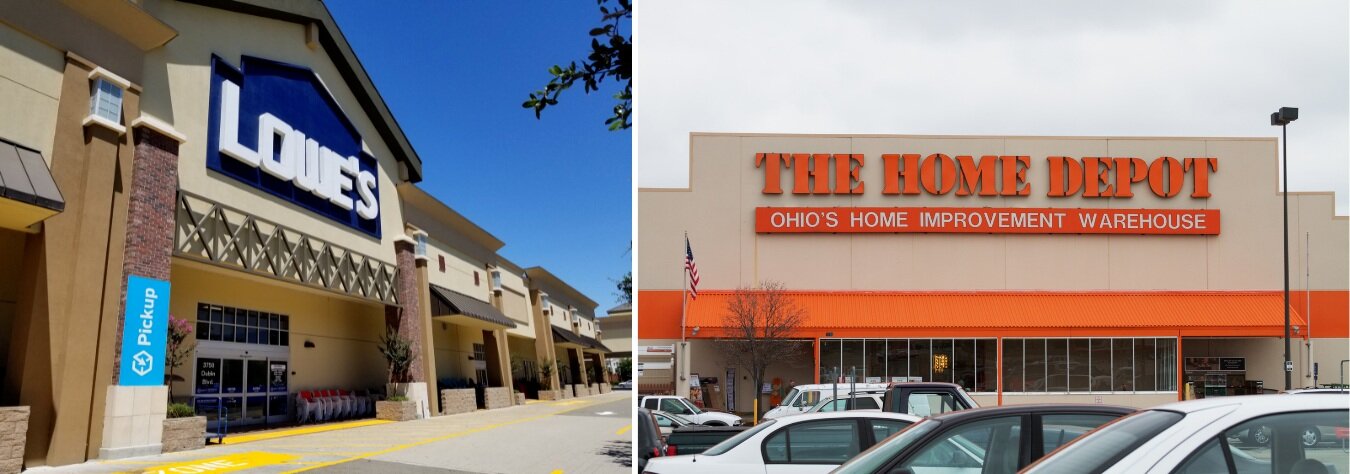
Sound familiar? A visit to Lowes or Home Depot can be overwhelming, stopping many landscape improvements before they can start. Making decisions for your landscape is especially exhausting if you don’t know the ins and outs of the industry.
The good news is that these trips don’t have to be so daunting. Feeling confident navigating these stores is key to getting those great projects you’re dreaming of finished. Here are seven shortcuts to get you in and out, fast.
Tip 1: Start with a Plan
Thinking big picture about your property gives you a clear plan of attack. Having a design plan for your whole property will ensure that individual projects fit together seamlessly into a holistic vision.
Carving out distinct spaces in your yard will dramatically extend your livable area and make views of garden spaces more attractive. YardKit was developed by pro designers to help you get there.
Pare down your palette of plants and materials to a few favorites that you repeat across each project. Keeping things simple will reduce decision fatigue and give a cohesive feel to your entire property.
Tip 2: Keep Your Eyes on the Prize
Walking through a big box home improvement store, you may see many solutions to things you may not need (do I have a rodent problem?) or tempt you with things you didn’t know you wanted (those colorful, short-lived spring annuals always look so tempting!), but sticking with the basics will reduce stress and impact to your credit card.
Working from your property Concept Plan, make your shopping list before hitting the center based on the type of project you’re tackling:
Planting? Remember soils, soil amendments (ask the staff what’s typically needed in your area), fertilizers, irrigation equipment, and, of course, plants
Installing hardscape? Enough material to cover the surface area (calculate this from your Plan beforehand), as well as base materials or aggregates, drainage equipment, and a level. You may want to ask about renting larger equipment to help with site grading, removals, or concrete pouring.
Tip 3: Don’t ‘Go Big or Go Home’
Your local lumber yard and nursery — not a larger box store — may offer better bulk prices and have a curated inventory that’s better suited to your climate. You’ll likely have more help hauling supplies to your car, too. Once you know what you’ll need for your project, look for “mom and pop shops” that sell specific materials at wholesale prices.
Store employees are often very knowledgeable and may take more time to answer questions and point customers in the right direction.
It may seem counterintuitive to add more stores to the errand list, but spacing out visits into several, more manageable trips means that your project is more likely to happen.
Tip 4: Reframe It as a Treat, Not a Chore
Turning your Friday date night into a visit to the hardware store may not sound romantic, but it could be just the solution for keeping a renovation project moving. Avoiding home improvement stores during the peak Saturday and Sunday mornings means you’ll save time by avoiding long lines and have more associates on hand to help you load or check out. Free your weekend for more enjoyable tasks.
(Speaking from personal experience, treating yourself to dinner beforehand will ward off hunger-induced meltdowns.)
Tip 5: Find Help
Ask retailers for designers and contractors who can help with tasks that are time-consuming, unfamiliar, or unwieldy. Stores often have a collection of business cards of local professionals and may provide a referral specific to your task. There’s no need to go it alone.

Tip 6: Buy for the Long Haul
You’re investing in the future here! As you watch the cart fill up with necessary materials, remember those landscape improvements typically add significant value to you home. Purchase high-quality materials and equipment to improve your return on investment. You’ll likely spend less time and money on upkeep as well.
Cut costs by planning ahead. Planting and mulch (called “softscape”) are typically far less expensive to purchase and install than paved or gravel areas (“hardscape). Maximizing planted areas and keeping paving to where it has the most impact — right out the back door, or your front walkway, for example — can also save money. Buying younger plants in 1- or 5-gallon containers. Each container size is about a year of growth, so these little ones will catch up to more mature (and expensive) plants in the long run.
Tip 7: Focus on Hydration
Sure, bring along a beverage, but remember your garden needs water. Remember that new plants will need water and may need additional irrigation. Stone, gravel, and concrete areas will collect water if they’re installed without proper drainage. Be sure to ask for help if you’re making a big change.
We’re here to help. Reach out at hello@yardkit.com to let us know how it’s going.